Creating & Editing an Agent
The agent builder walks you through everything that makes an agent: its identity and avatar, its instructions, the model it runs on, the tools and knowledge it can reach, and the way it greets people. This page covers building a new agent and editing an existing one.
Starting a new agent
- Open Agents from the left sidebar.
- Click New agent (or duplicate an existing agent and edit the copy).
New agents open as a step-by-step wizard; the progress bar and the Step X of Y label at the top show where you are. You can move with Next / Back, or jump to a completed step from the tabs.
Editing works from the same builder — see Editing an agent below.
Step 1 · Identity
Give your agent a name and a face.
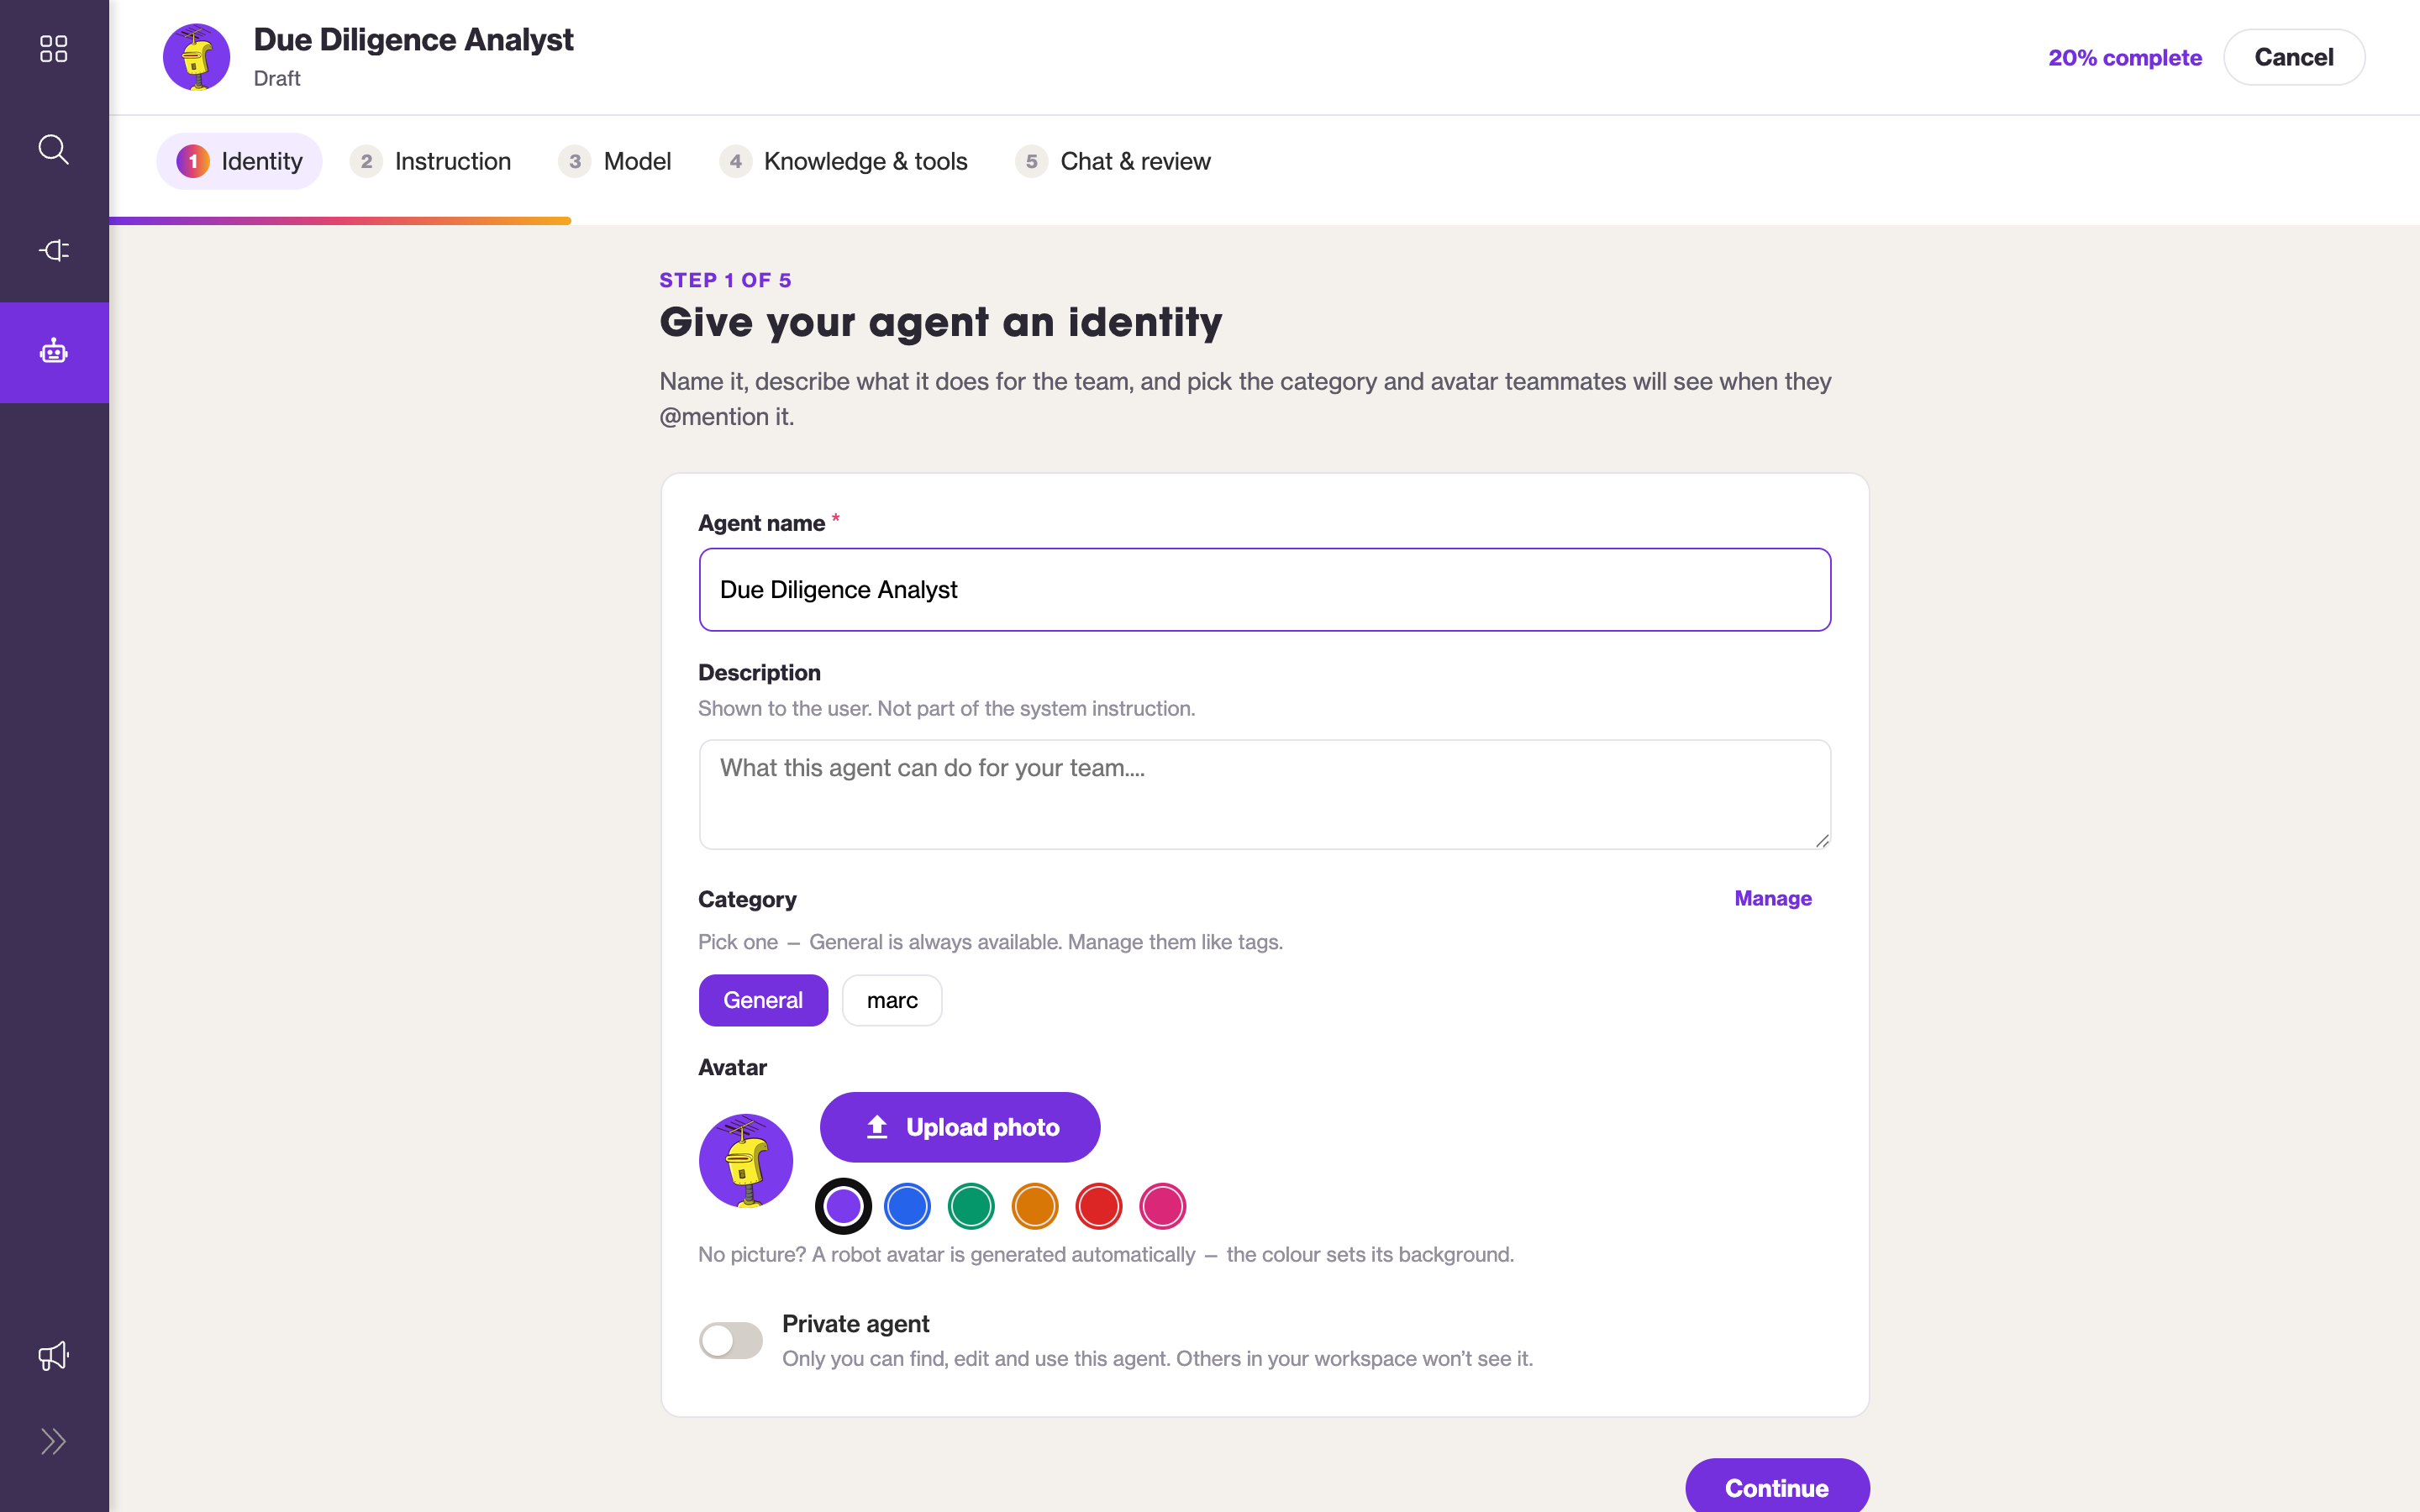
- Name (required) — how the agent appears everywhere it’s used.
- Description — a short note shown to users; it is not part of the system instruction.
- Category — pick a category chip to organize the agent. General is always available, and you can Manage categories (add, rename, delete) right here.
- Avatar — see Choosing an avatar.
- Private agent — when on, only you can find, use, and edit this agent.
Choosing an avatar
By default an agent shows a generated robot avatar on a colored background — pick a color from the swatches. To use your own picture instead, click Upload photo:
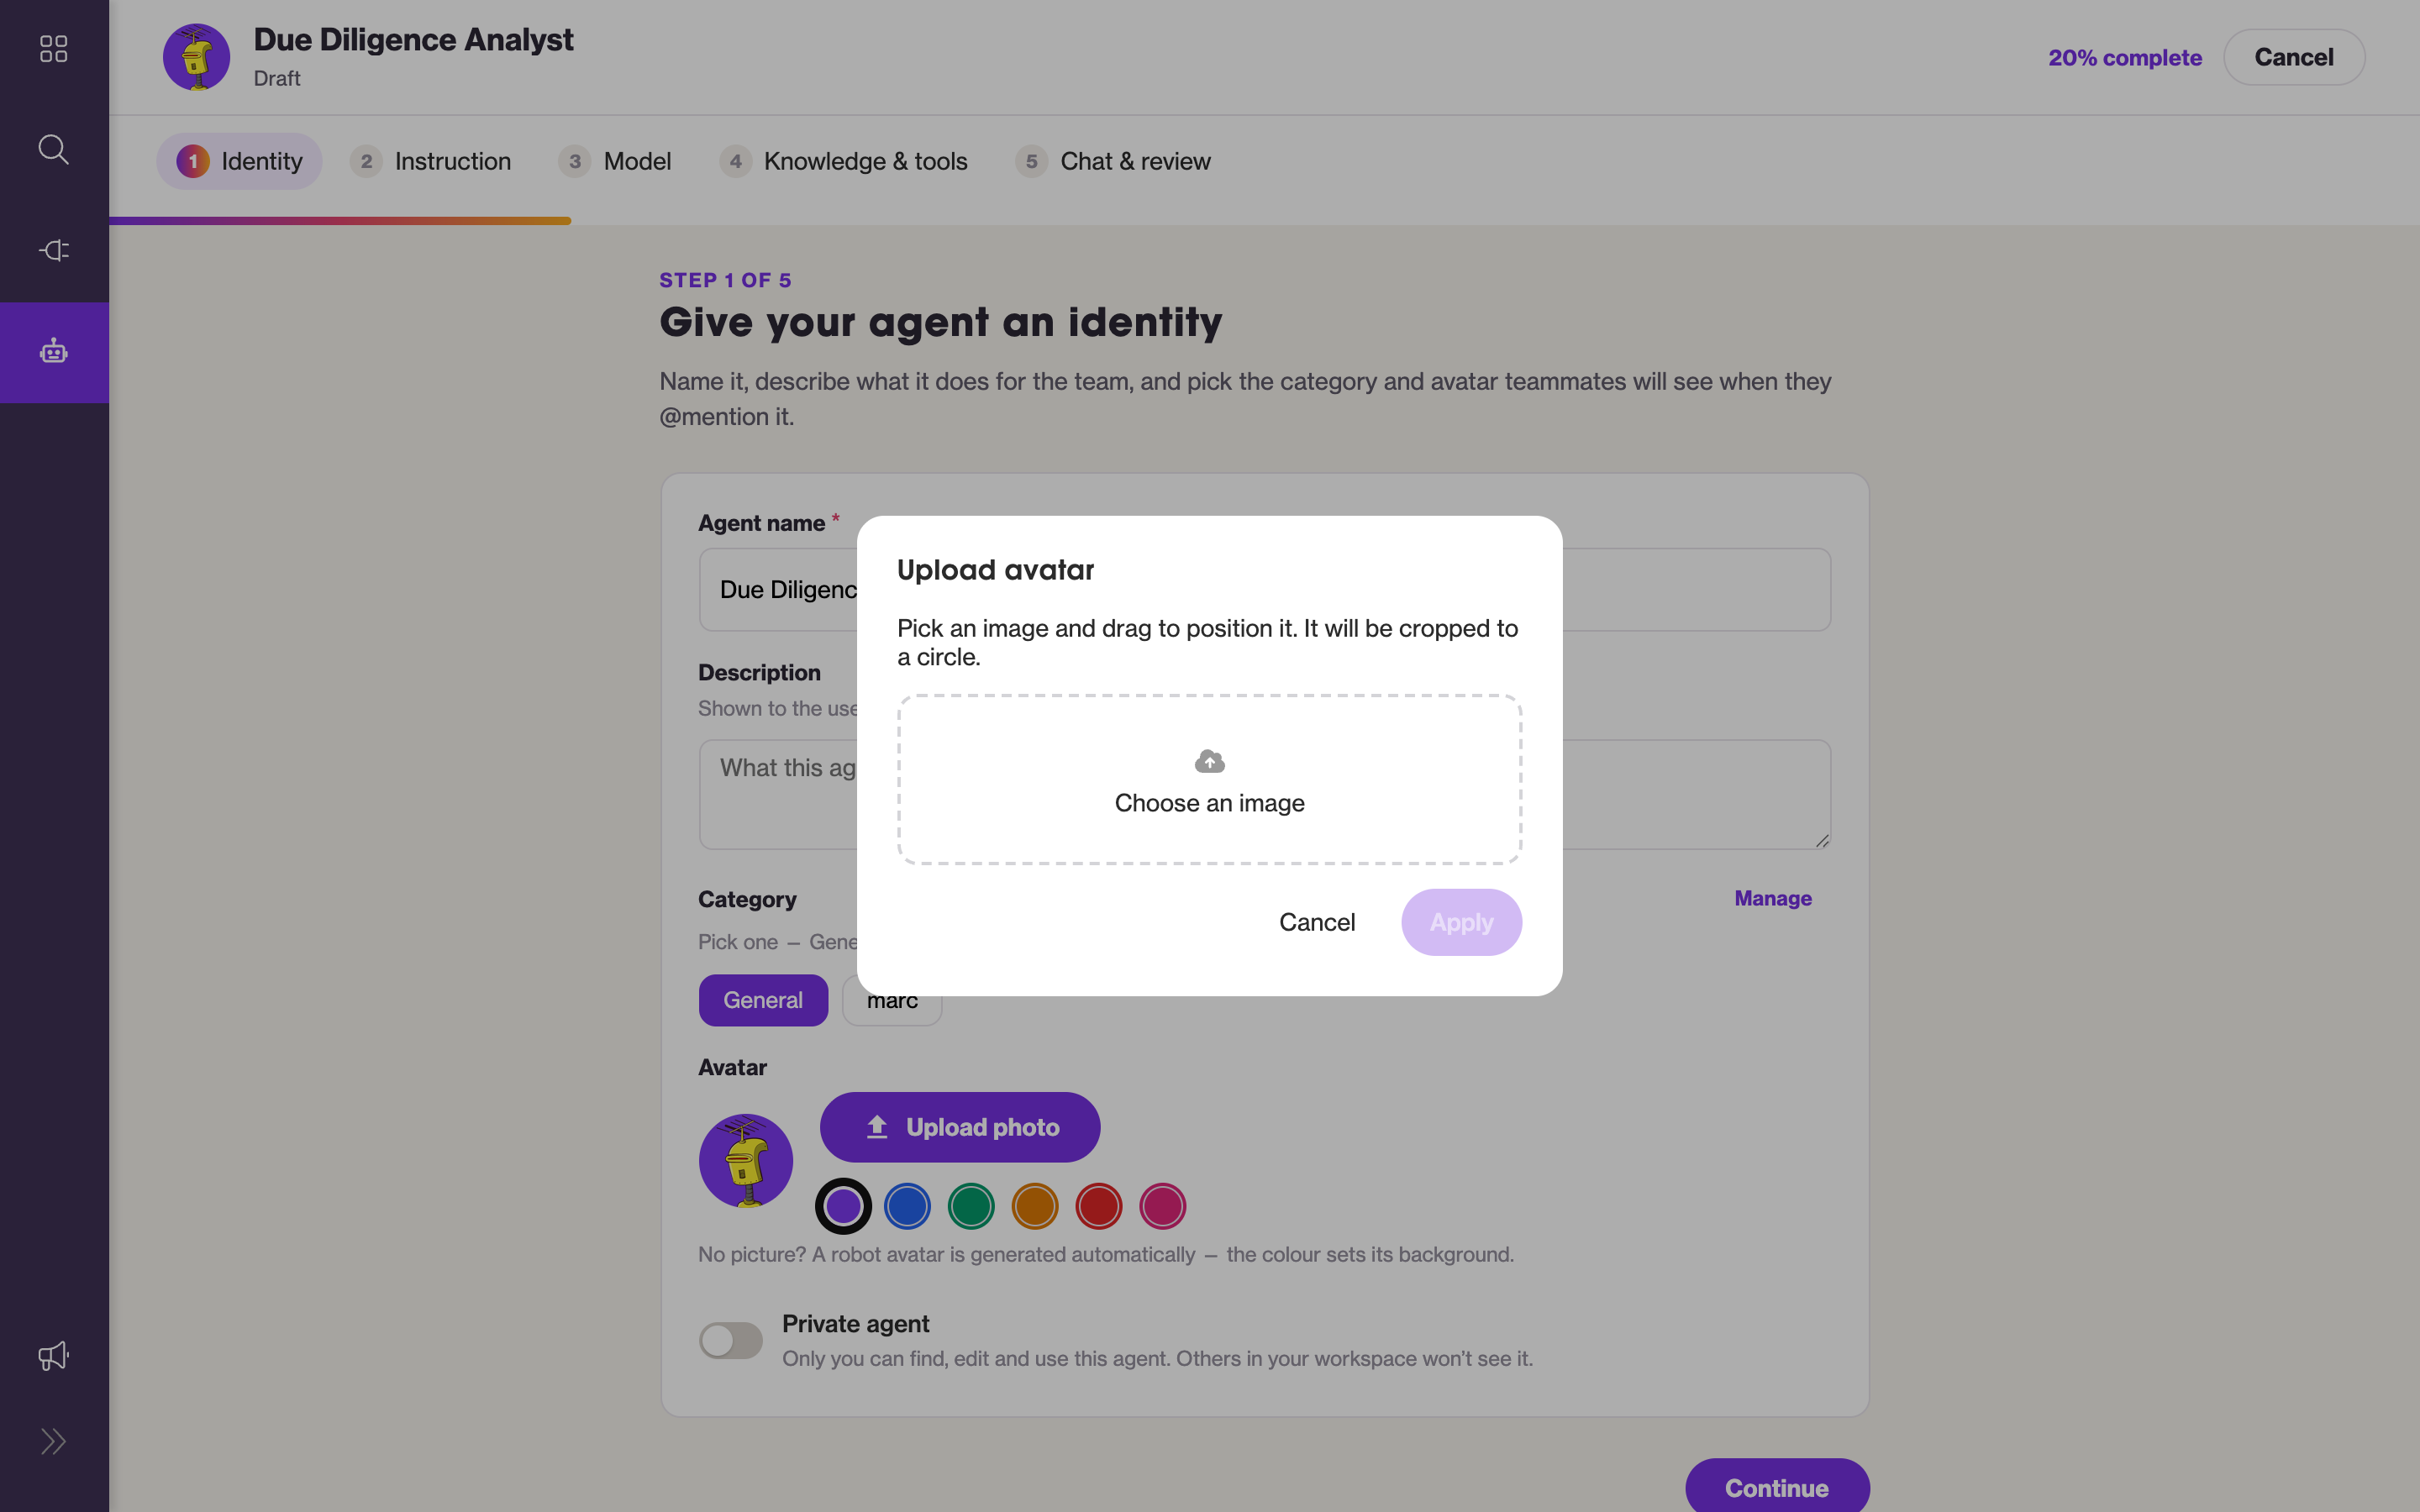 Choose an image, drag to position it, and it’s cropped to a circle.
- Click Upload photo to open the dialog.
- Choose an image (PNG, JPEG, WebP, or GIF, up to 5 MB).
- Drag and zoom to frame the crop, then click Apply.
- Use Replace photo to pick a different image, or Remove photo to go back to the generated robot avatar.
The image is saved when you save the agent.
Step 2 · Instruction
Write the system instruction — the role and rules the agent follows in every conversation. This is the heart of the agent; be specific about its job, tone, and boundaries.
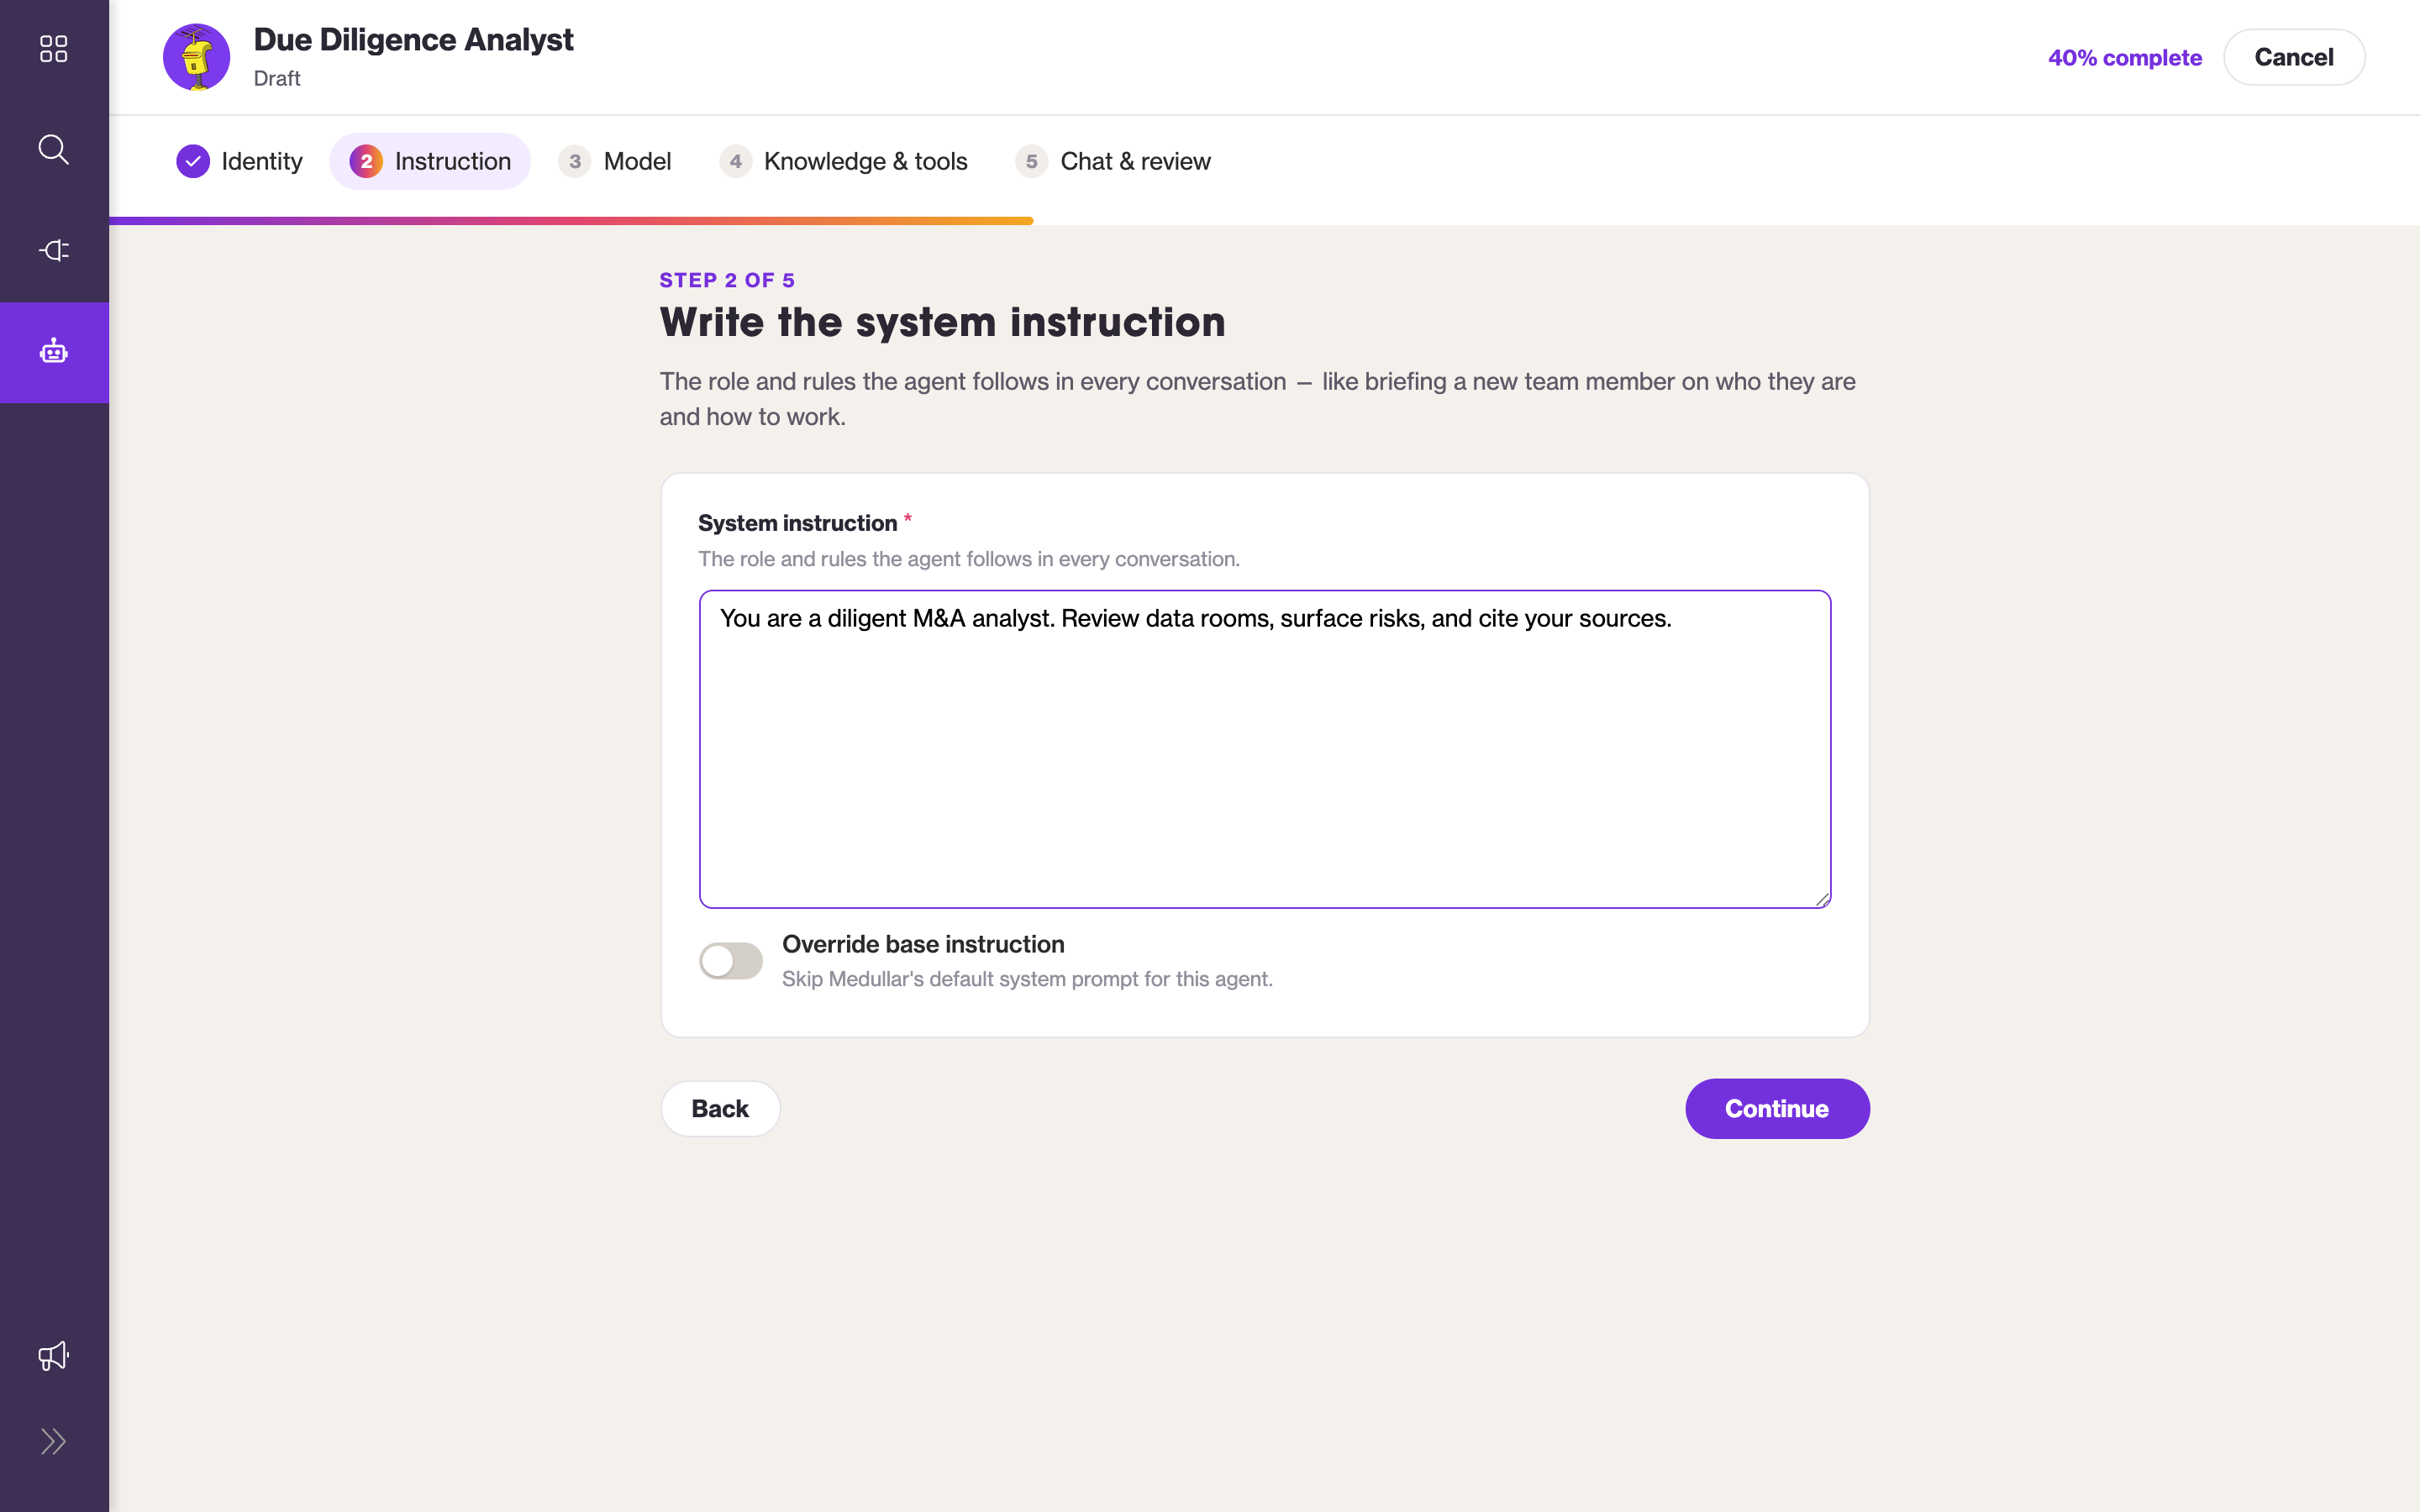
You can also choose whether the instruction overrides the base prompt or builds on top of Medullar’s default behavior.
Step 3 · Model
Choose the engine that powers the agent.
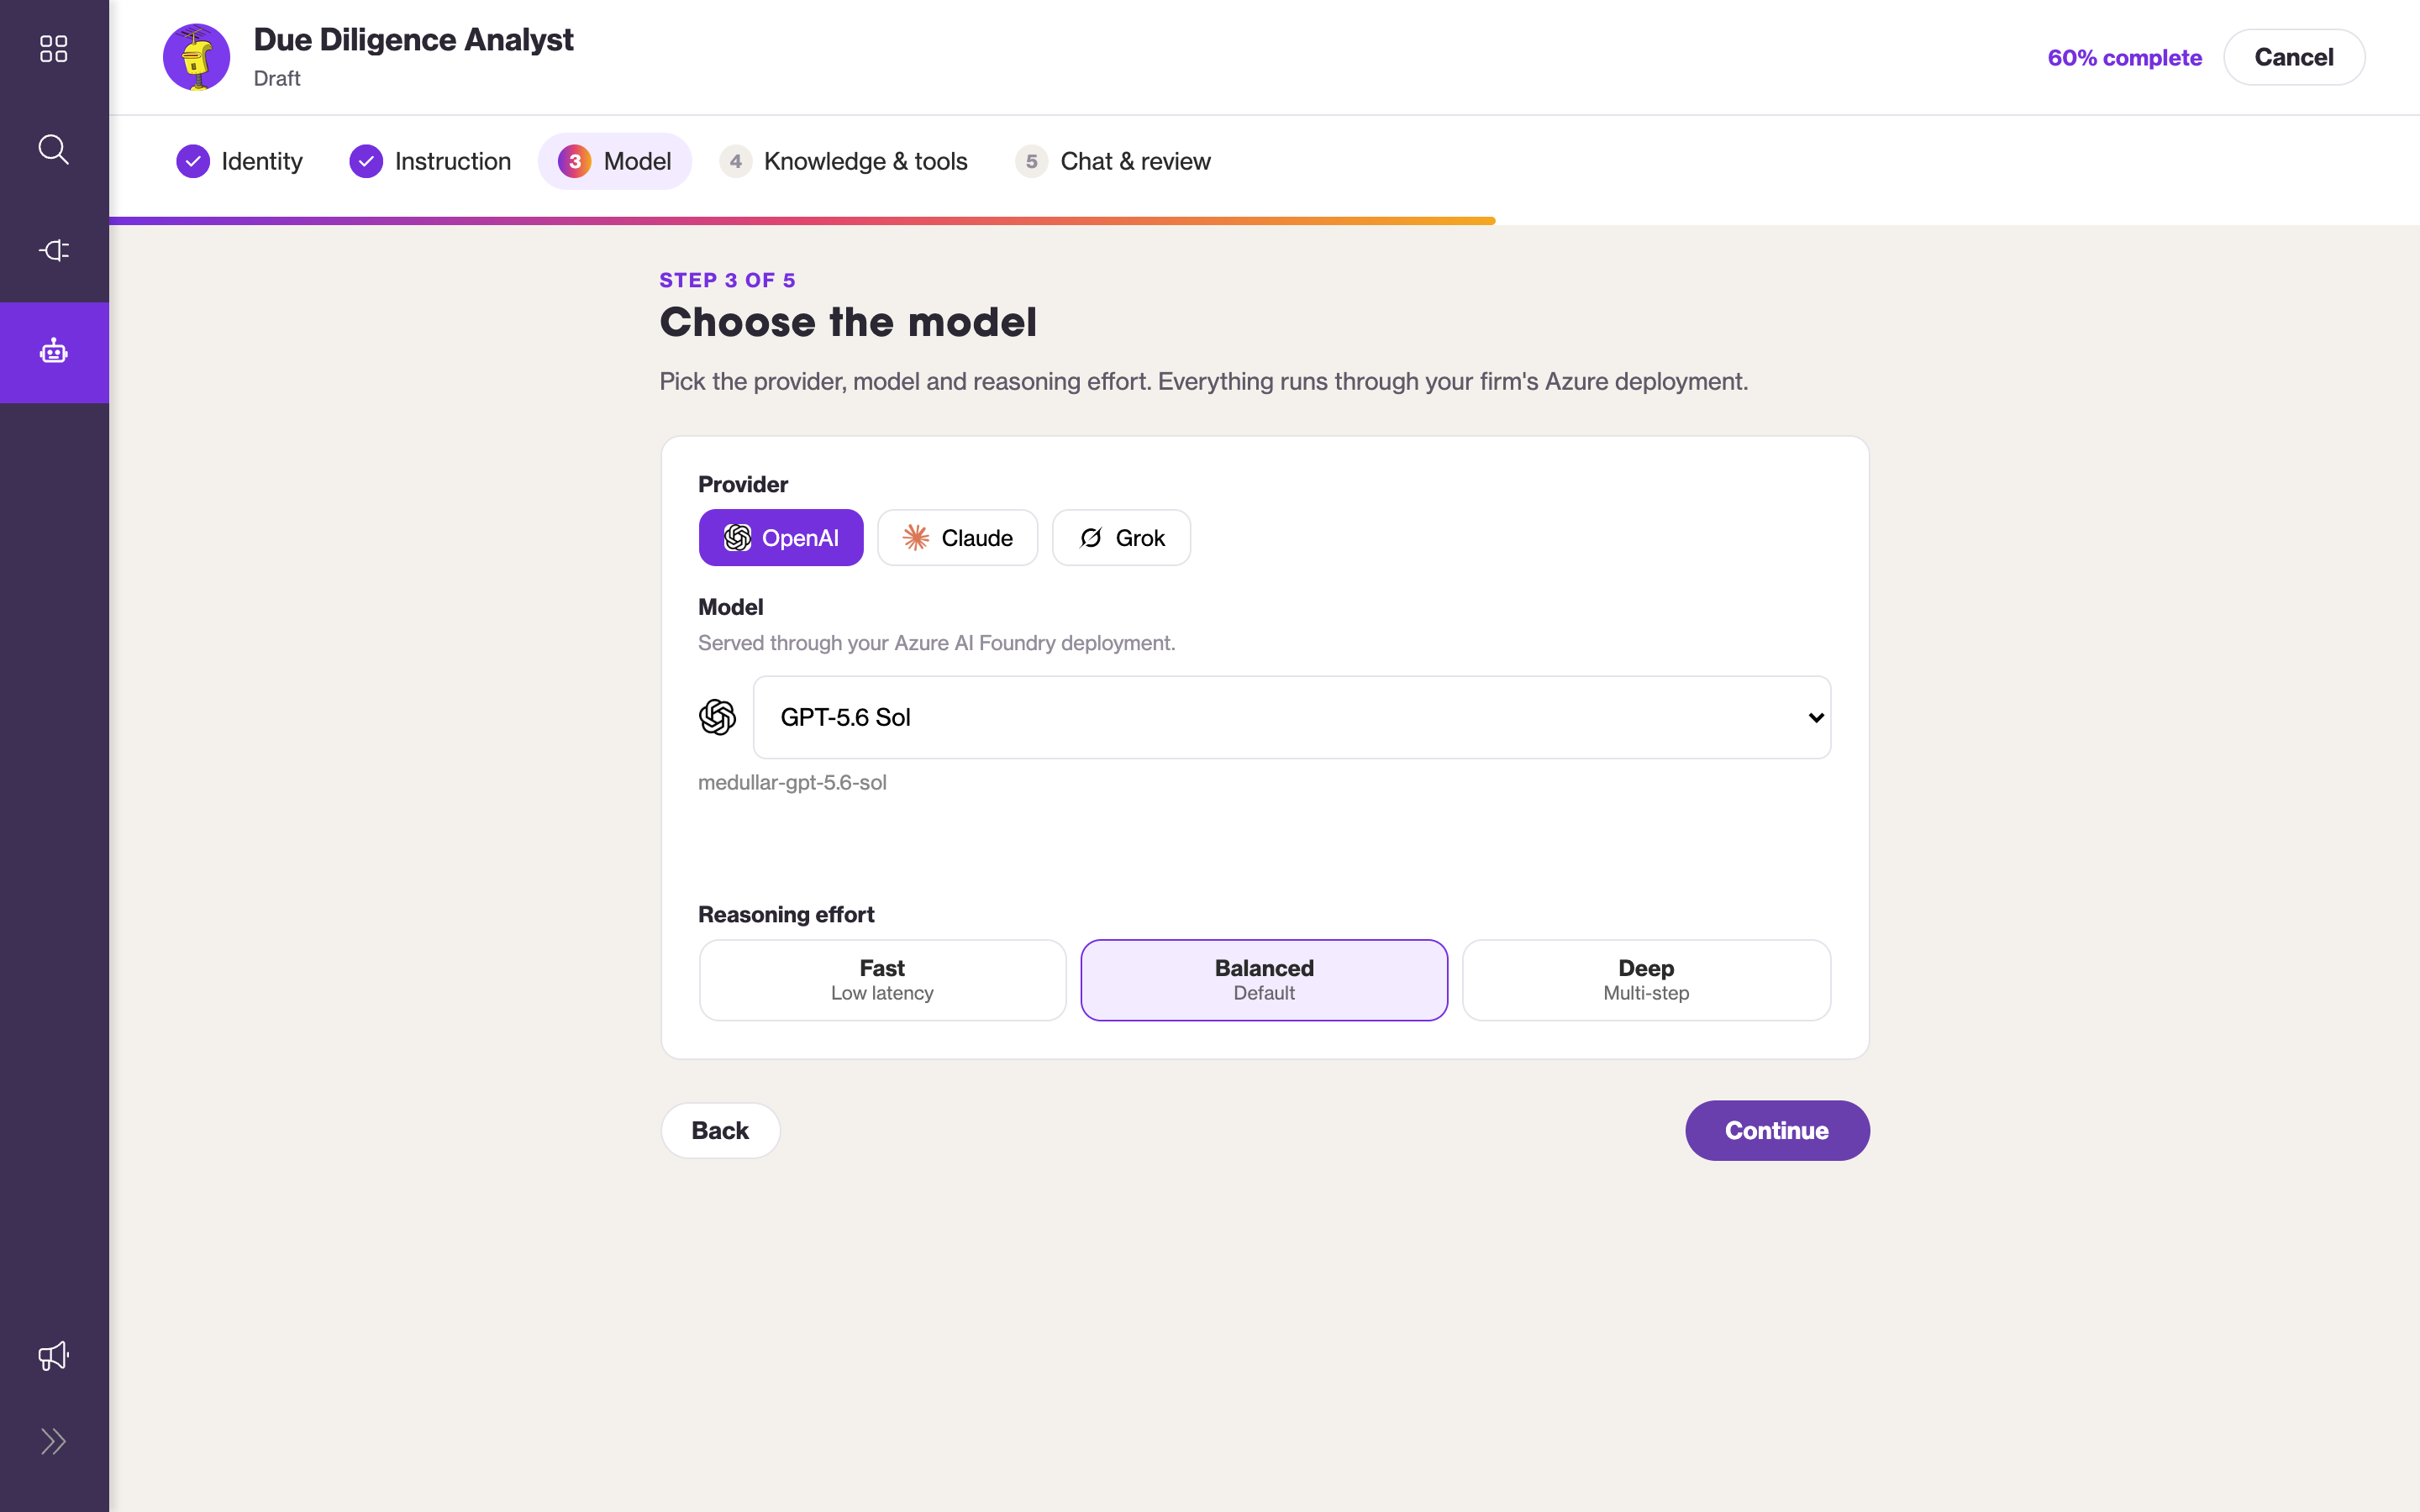
- Provider & model — OpenAI, Claude, or Grok, and the specific model within it.
- Reasoning effort — how hard the agent thinks before answering: Fast (low latency), Balanced, or Deep (multi-step). Balanced is a good default.
Step 4 · Knowledge & tools
Decide what the agent can reach.
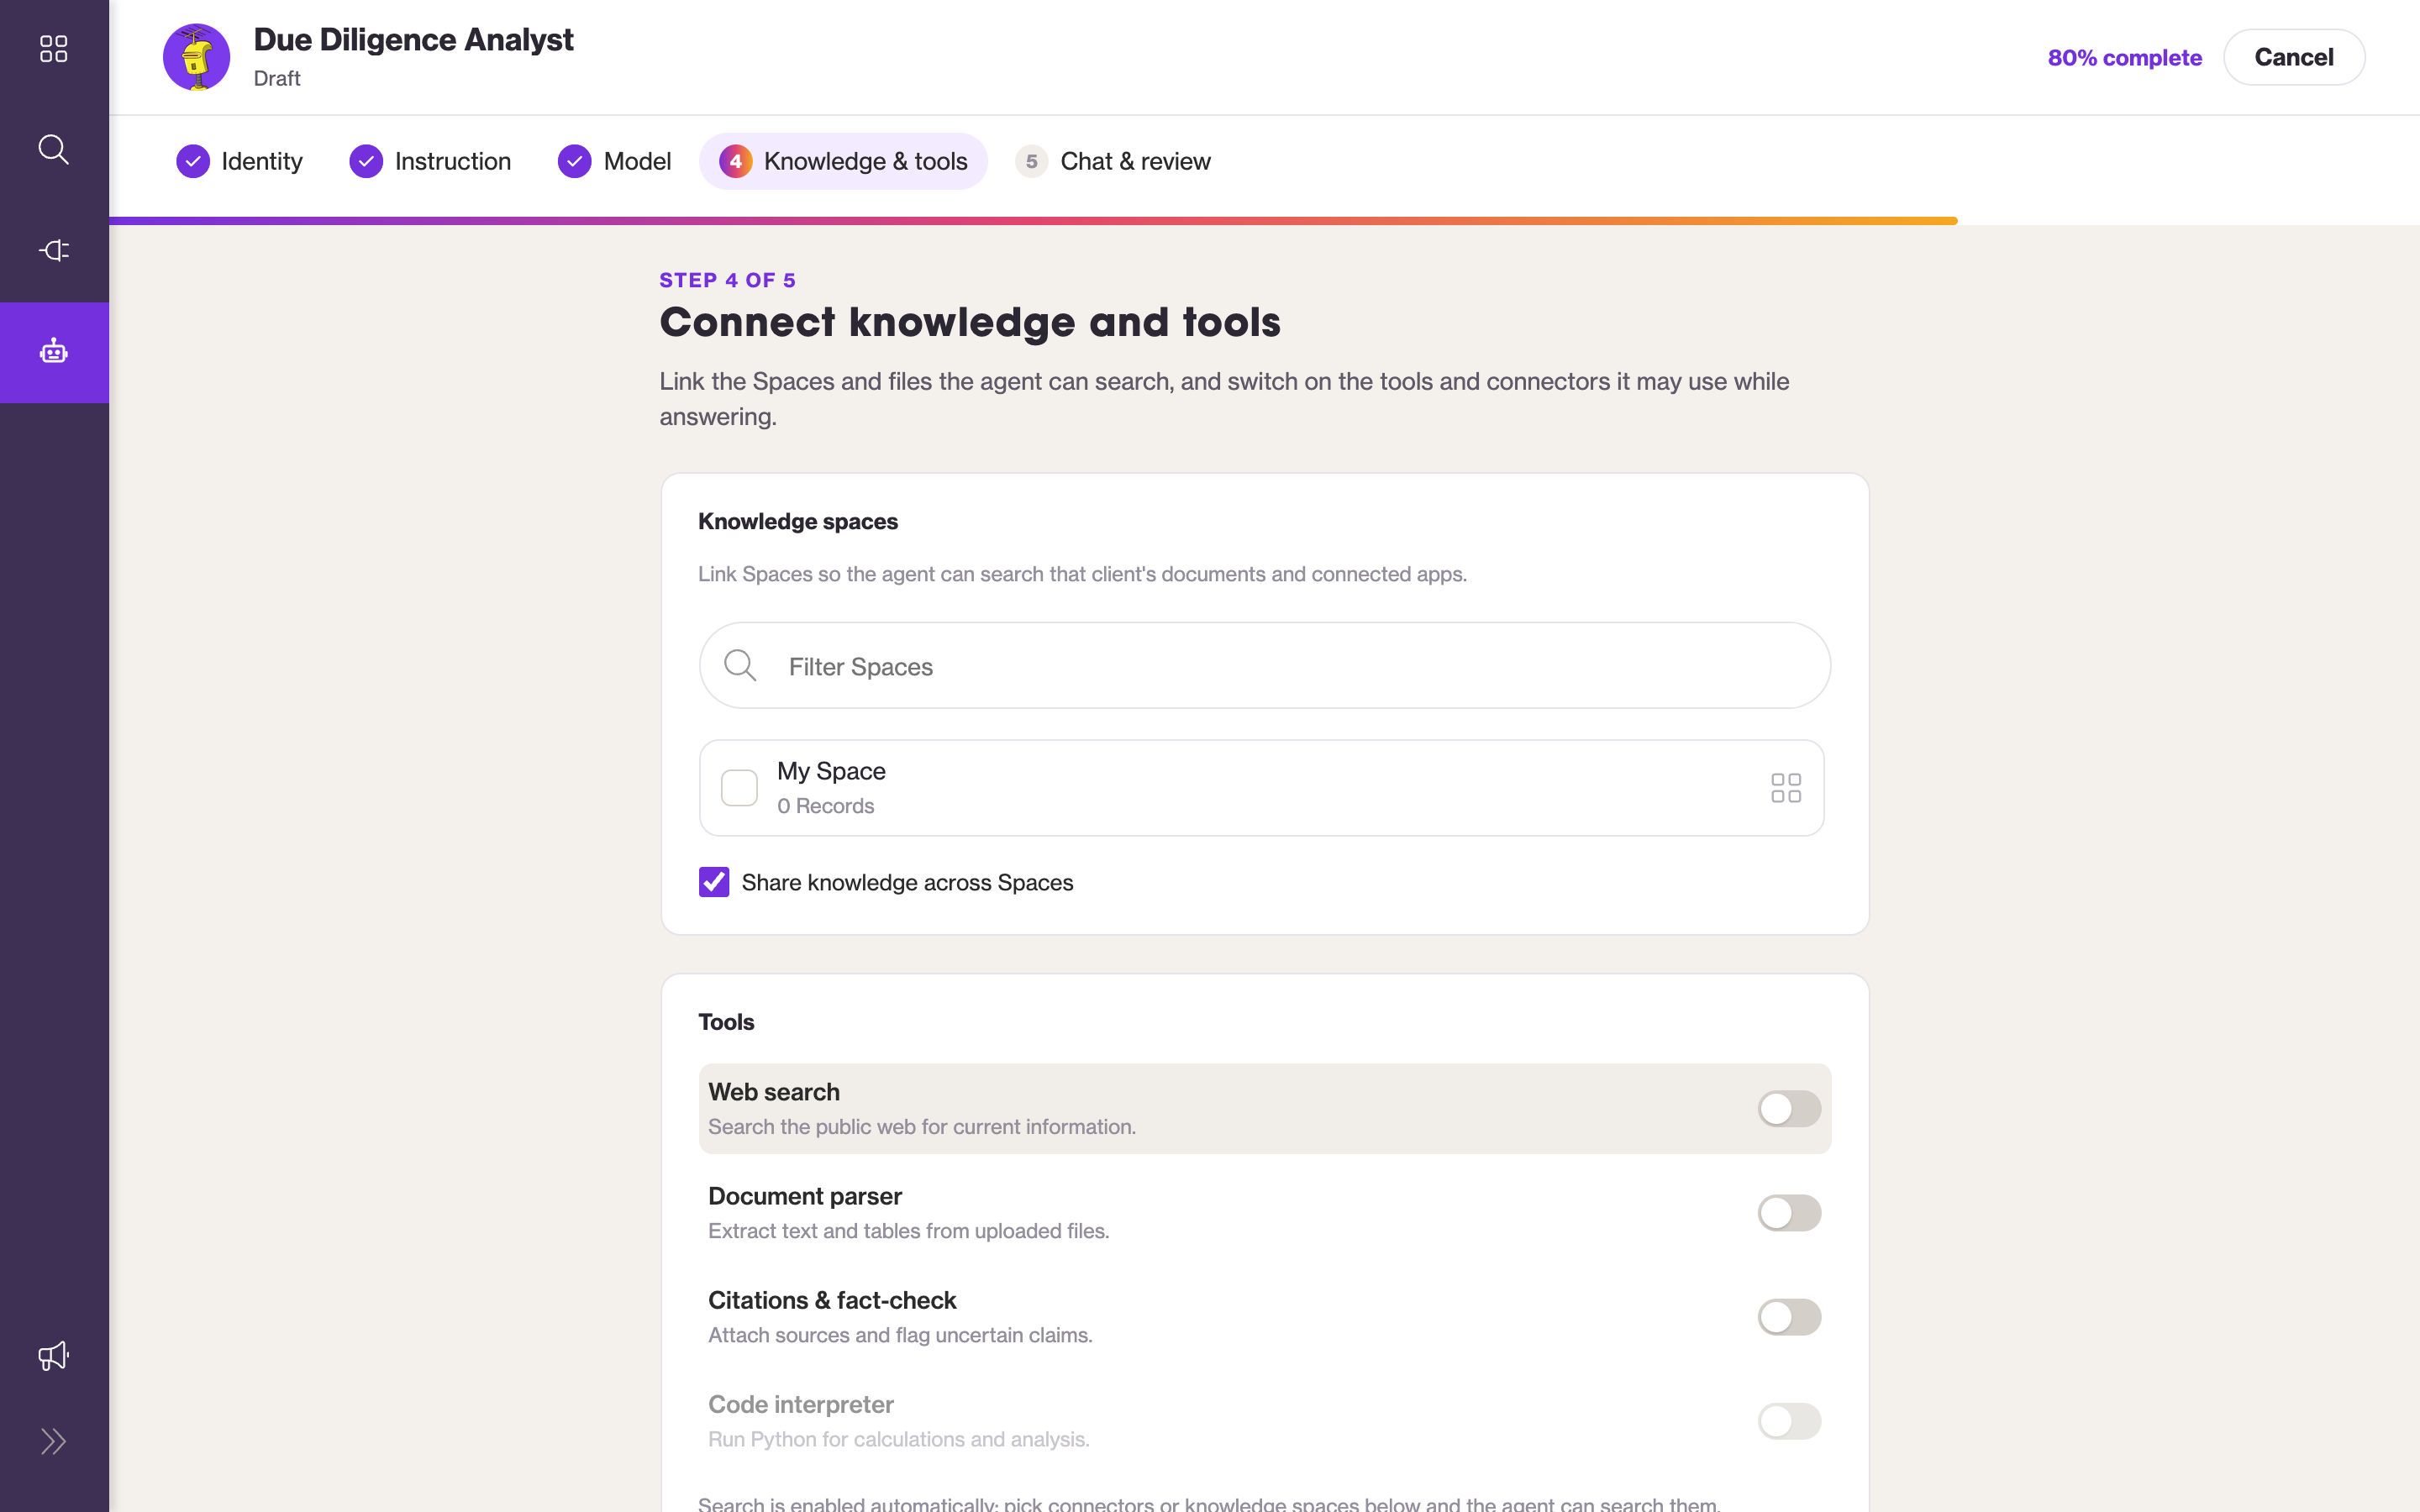
- Tools — abilities such as web search, Space search, connected-app search, document parsing, and citations & fact-check. Turn on only what the agent needs.
- Knowledge (Spaces) — link the Spaces the agent should draw on for answers, and choose whether it can share knowledge across Spaces.
- Connectors — pick which connected apps the agent may query.
Step 5 · Chat & review
Shape the first impression and review everything.
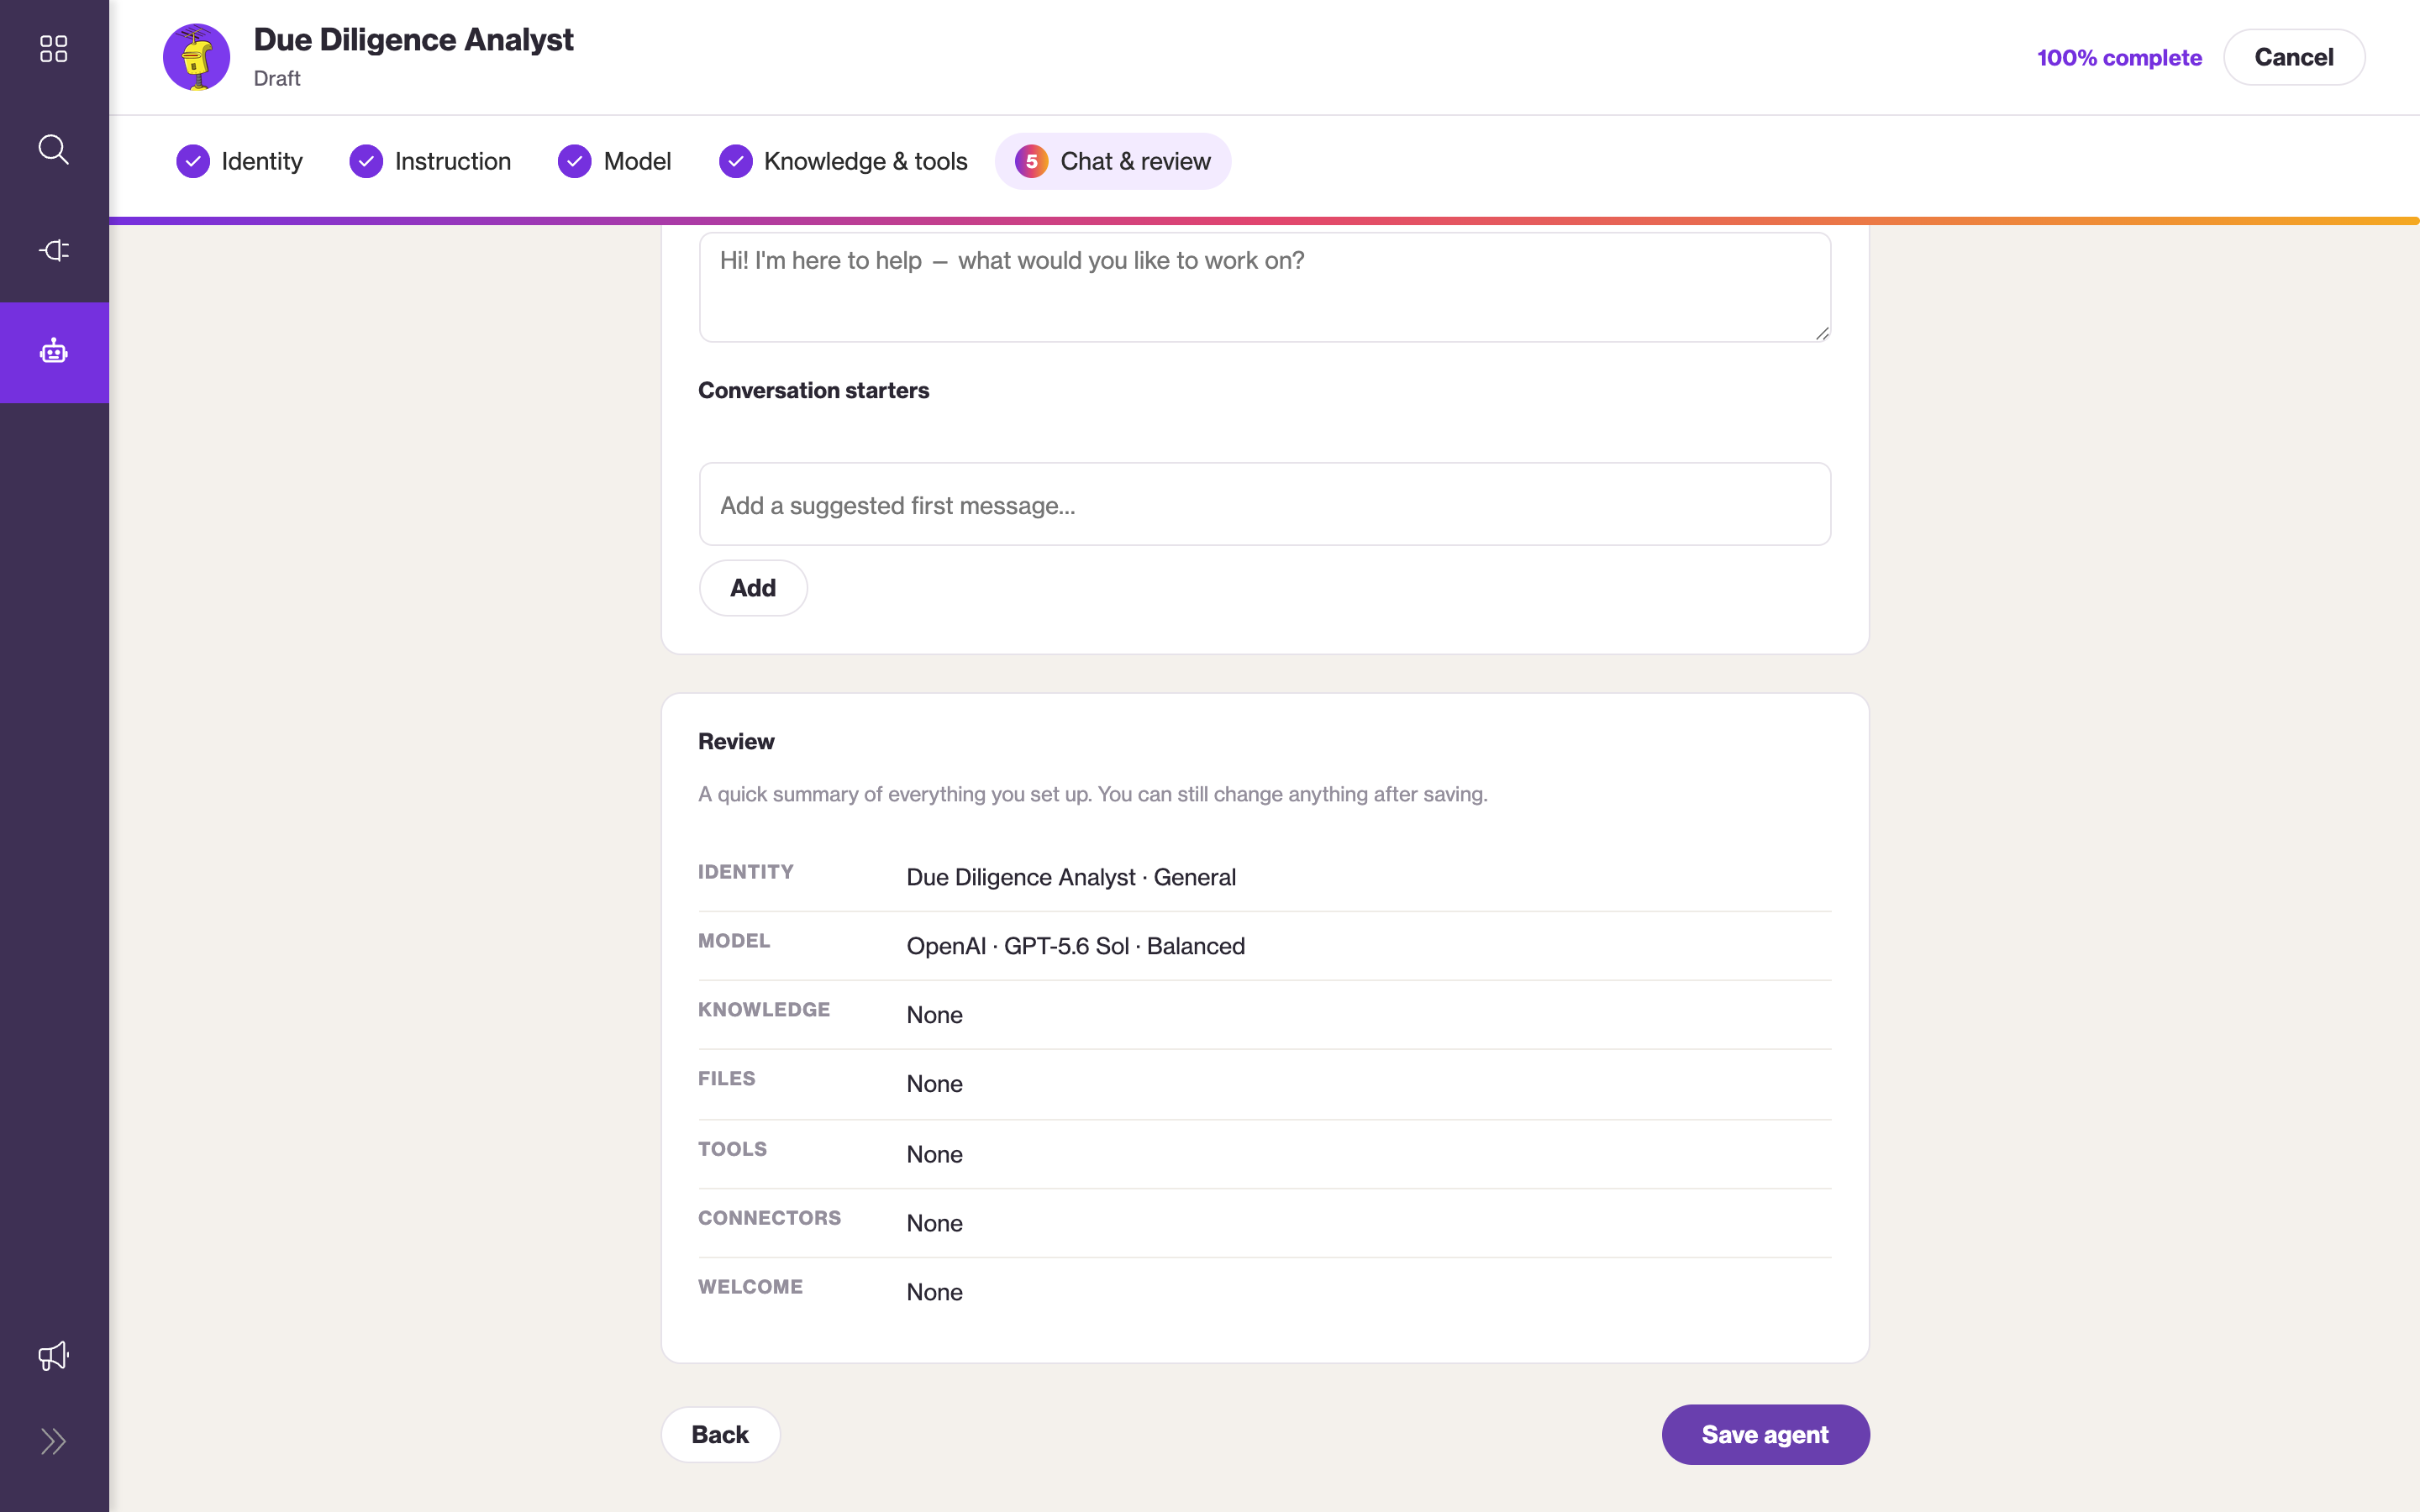
- Welcome message — what the agent says when a chat begins.
- Conversation starters — one-click example prompts that help people get going.
- Review — a summary of the whole agent. When it looks right, click Create.
Editing an agent
To change an existing agent, open the Agents library and click the edit (pencil) icon on its card — or open the agent and choose Edit.
Editing opens the same builder, with every section shown at once (not the step-by-step wizard), so you can jump straight to what you want to change. Click Save to apply your changes.
Only the agent’s creator can edit it, and system agents (provided by Medullar) can’t be edited. To tailor a system agent, duplicate it and edit the copy.