Workspaces & Switching
A workspace is the top-level container for your team, your connected apps, and your billing. This page explains what a workspace is, how it differs from a Space, how to switch between workspaces, and how admins open the workspace admin panel.
What is a workspace?
A workspace is the team and billing container in Medullar. It groups together everyone on your team along with the connectors, settings, seats, and subscription that they share.
A workspace admin manages:
- Members — who belongs to the workspace and what role they have.
- Apps — which connectors are available to the whole team.
- Settings — the workspace name and shared preferences.
- Seats and billing — your plan, seats, and invoices.
You can belong to several workspaces at once — for example, one for your own company and one shared with a partner — and switch between them whenever you need.
Workspace vs. Space
It’s easy to mix these up, so here’s the difference:
- A workspace is the team and billing container. It holds your members, connectors, settings, and subscription.
- A Space is a knowledge container that lives inside a workspace. It’s where you chat with the Medullar AI over your data, keep records, and pin key answers.
In short: a workspace is the home for your whole team, and Spaces are the collaborative working areas inside it. To learn more about Spaces, see Members & Roles for how people are managed at the workspace level.
Switching between workspaces
The workspace switcher lives in the main navigation. It’s the round avatar showing your workspace initials.
- In the main navigation, click the workspace switcher avatar.
- The menu shows your Current workspace at the top, then any Other workspaces you belong to.
- Click another workspace to switch to it.
When you switch, Medullar loads that workspace and lands you on its Spaces. If the workspace’s plan or trial has expired, it opens on the Billing/Plans page instead, and features stay locked until you upgrade.
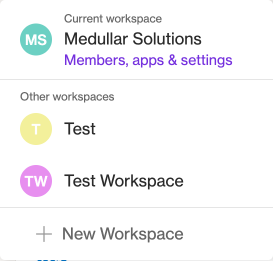 The workspace switcher shows your current workspace, other workspaces, and the option to create a new one.
Creating a new workspace
You can start a fresh workspace at any time from the same switcher.
- Click the workspace switcher avatar in the main navigation.
- Choose New workspace from the menu.
- Give the workspace a name to finish setting it up.
Your new workspace starts empty, so you’ll want to connect apps and invite teammates next.
The workspace admin panel
The Workspace admin area is where admins manage the whole team. It has three tabs:
- Members — view the members table, invite new people, and manage roles and seats.
- Apps — control which connectors are available (visible) to everyone in the workspace.
- Settings — set the workspace name and shared preferences.
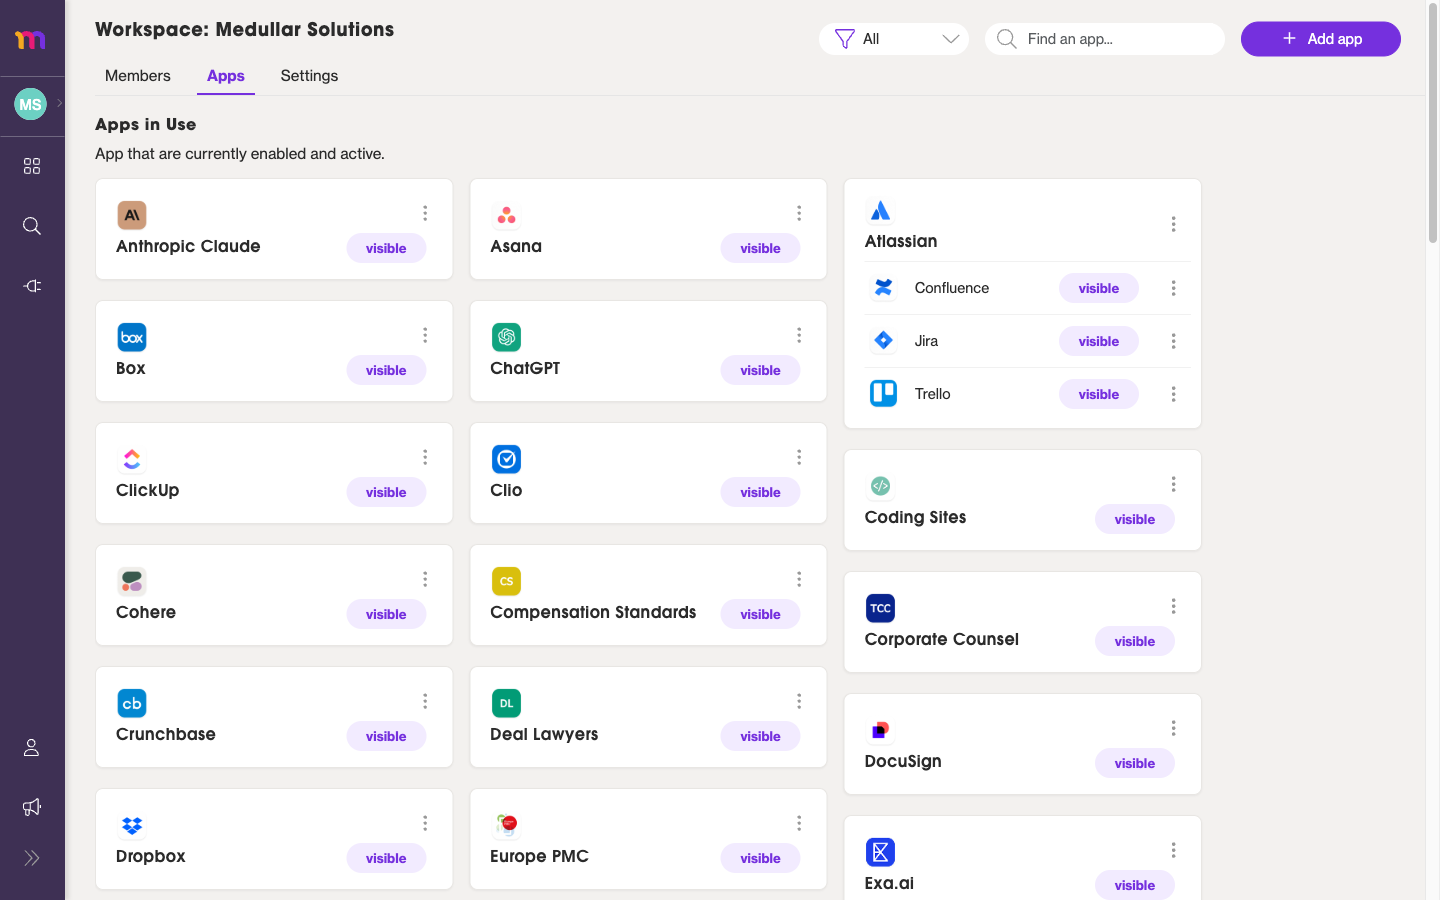 The workspace admin panel, with the Members, Apps, and Settings tabs.
The workspace admin panel requires an admin role. If you don’t see the Workspace admin tabs, ask a workspace admin for access.
For more detail on each tab, see:
- Members & Roles — invite members and assign roles.
- Connectors & Settings — manage workspace apps and preferences.
- Subscription, Seats & Invoices — manage your plan and billing.