The Onboarding Wizard
The first time you sign in to Medullar, a short setup wizard helps you get ready in a few clicks: name your workspace, connect your first apps, and add the browser extension. This page walks you through each step.
What the setup covers
The wizard has four quick steps:
- Welcome — give your workspace a name.
- Connect your world — pick the first apps you want to connect.
- Browser extension — install the extension for Chrome, Edge, or Brave.
- Confirm — review your workspace name and finish.
You don’t have to complete every step right now. Any step can be skipped, and you can come back to it later from inside Medullar.
Step 1: Name your workspace
Your workspace is the home for your team, your connected apps, and your settings. Start by giving it a name.
- On the Welcome step, type a name for your workspace (for example, Acme Market Research).
- Select Continue to move on.
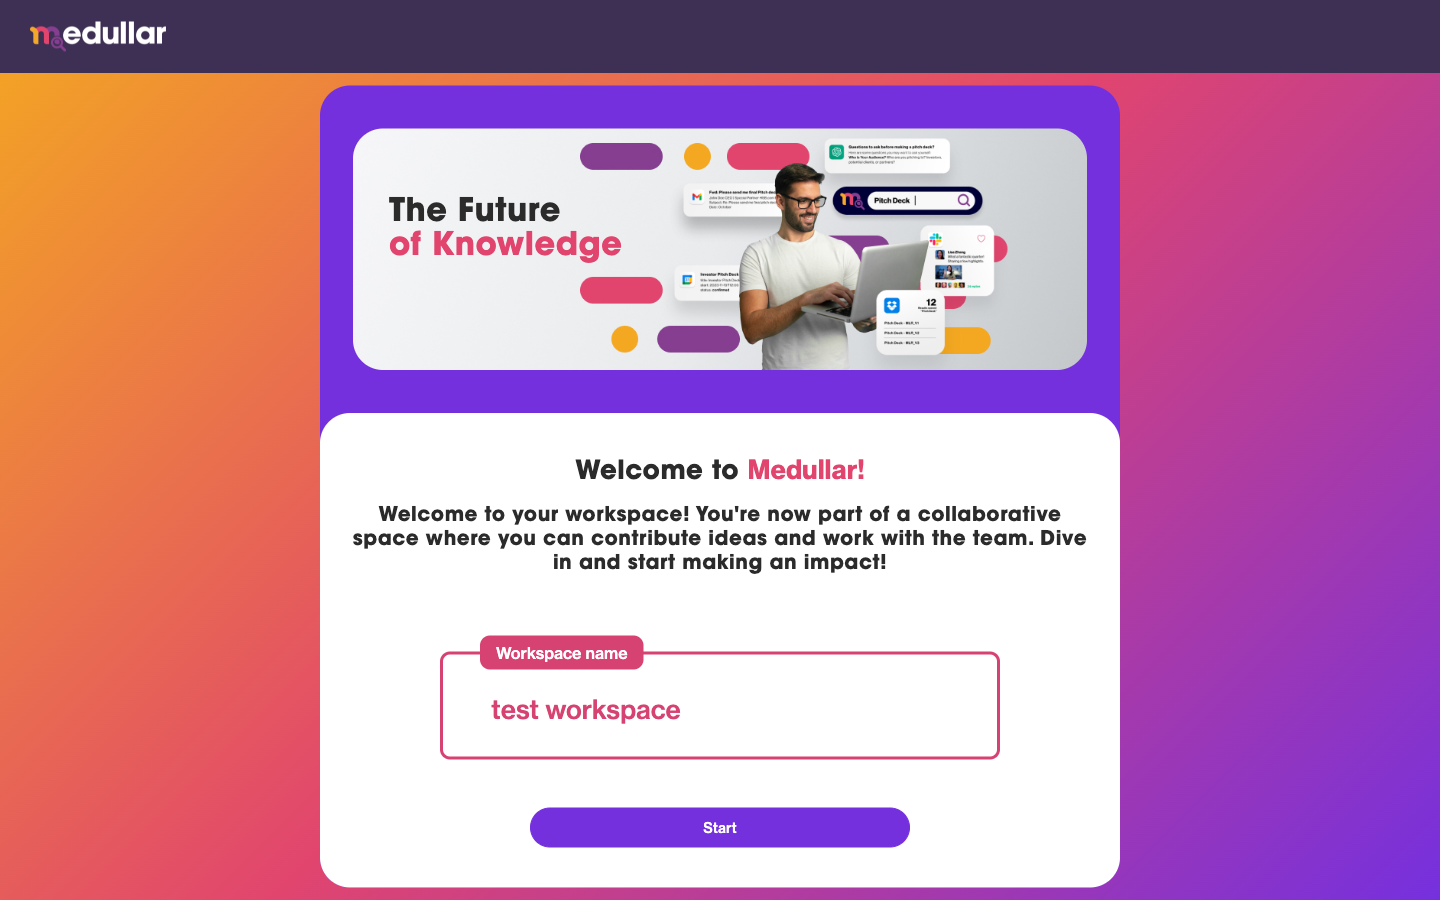 Naming your workspace is the first step of setup.
You can change this name later, so don’t worry about getting it perfect now.
Step 2: Connect your first apps
Next, choose the apps you want Medullar to search across. With over 100 apps and growing, connecting a few now means your searches and Spaces start with useful results right away.
- On the Connect your world step, browse the available apps.
- Pick the ones you use most, such as your email, files, or chat tools.
- Follow the prompt to sign in and authorize each app you select.
- Select Continue when you’re done.

You can always add more apps afterward. For the full list and connection details, see Connecting Your Apps.
Step 3: Install the browser extension
The Medullar browser extension brings search directly into any page you’re viewing, so you can look things up without switching tabs.
- On the Browser extension step, choose your browser: Chrome, Edge, or Brave.
- Follow the link to install the extension from your browser’s store.
- Return to the wizard and select Continue.
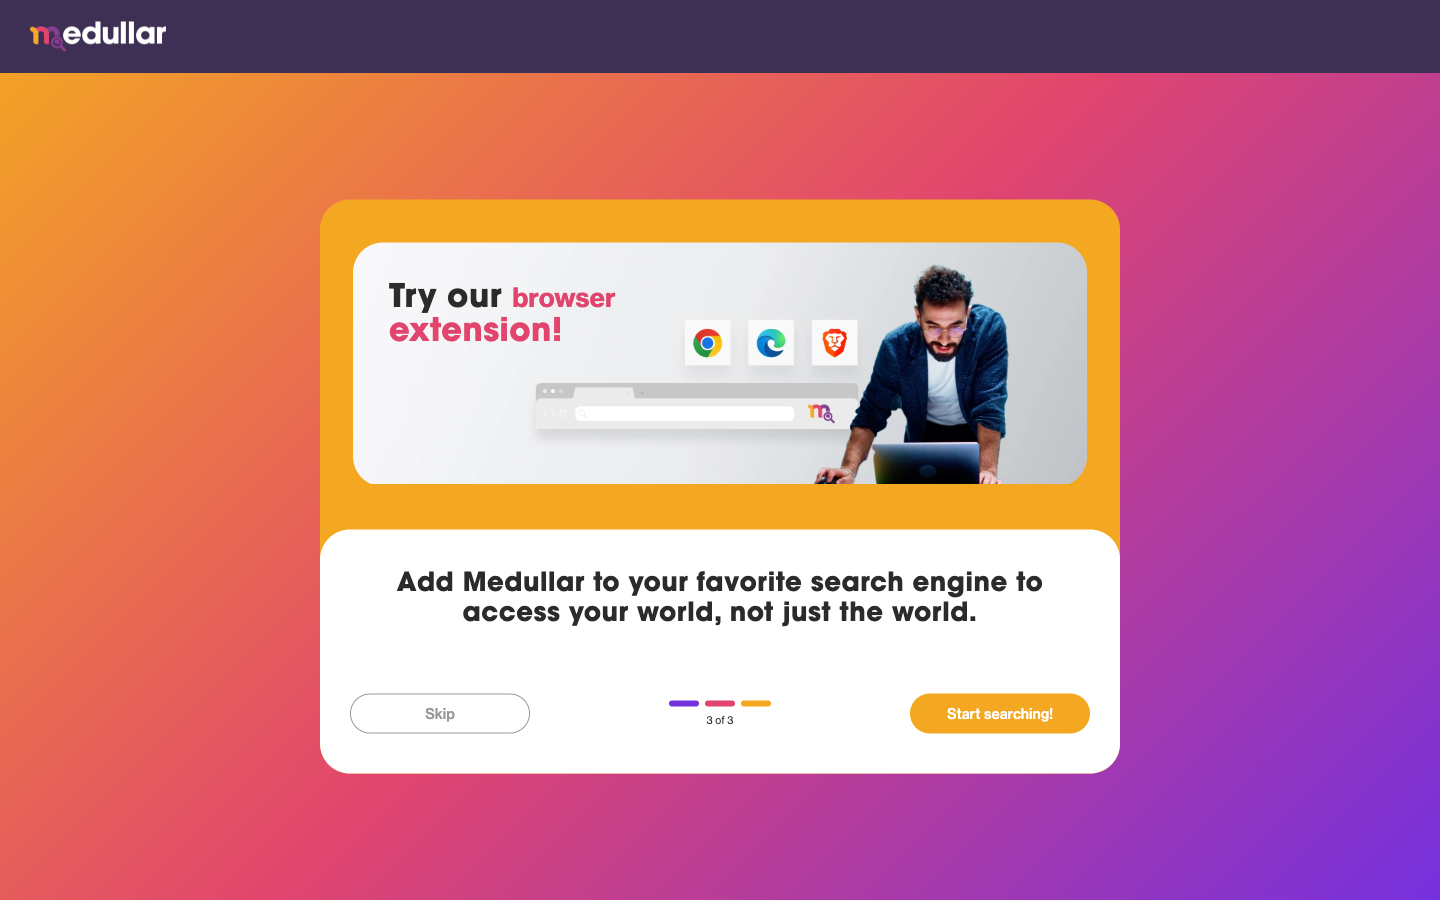
Learn more about what it does on the Browser Extension page.
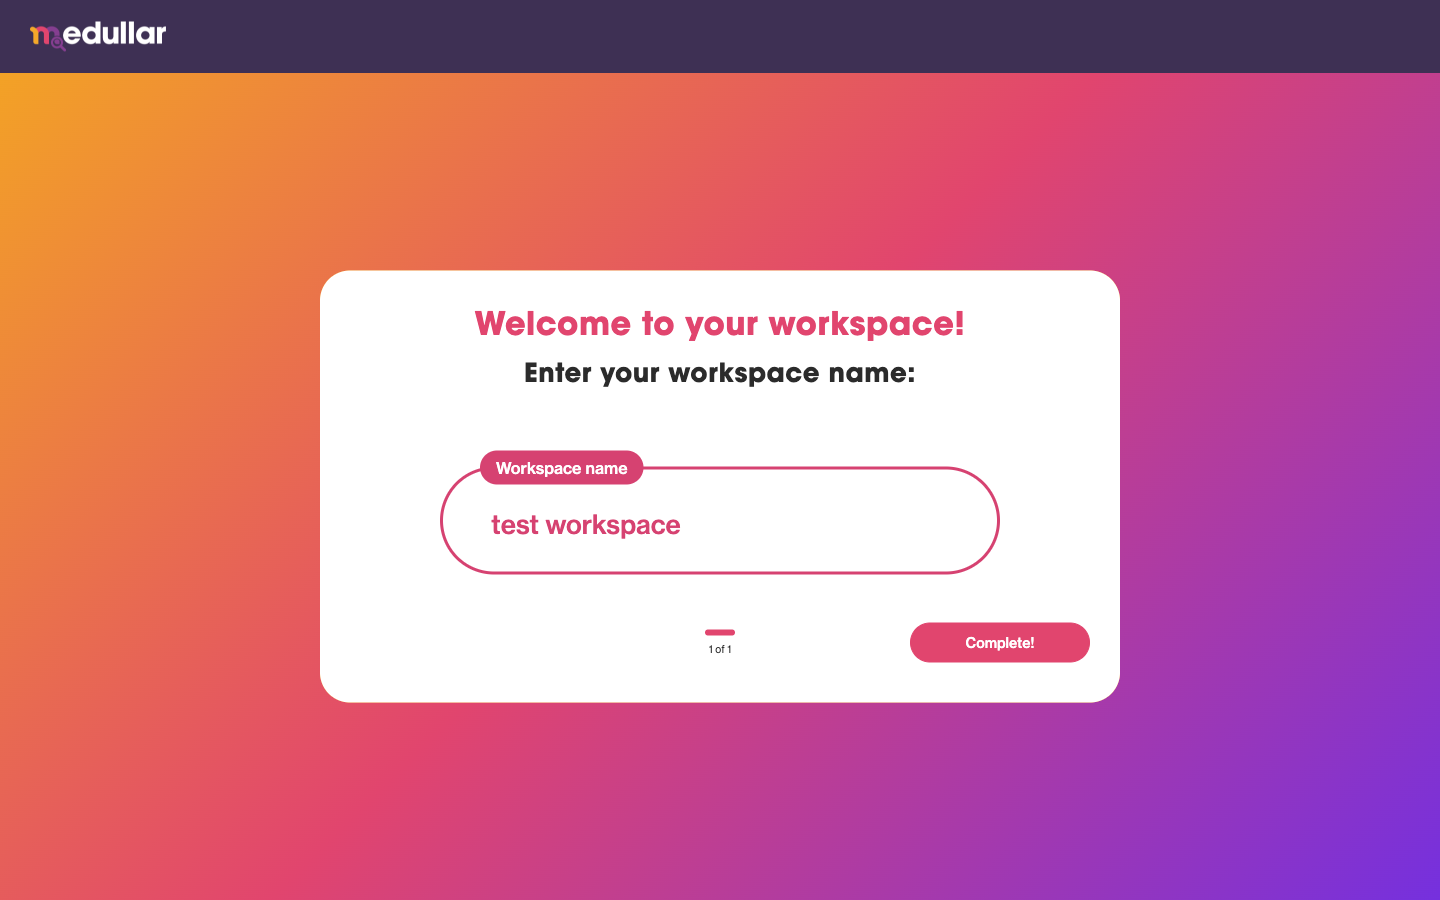
Step 4: Confirm and finish
The final step lets you double-check everything before you start.
- On the Confirm step, review your workspace name.
- Make any last edits if needed.
- Select Complete to finish setup and open Medullar.
After you finish, Medullar lands on your Spaces, where you can start chatting with your connected knowledge. To learn more, see Spaces.
Skipping steps and finishing later
Setup is meant to be fast, not blocking. If you’d rather get straight into the product, you can skip any step and return to it whenever you’re ready:
- Connecting apps — open My Apps from the main navigation to connect more apps. See Connecting Your Apps.
- The browser extension — install it anytime from the Browser Extension page.
- Your workspace name — rename your workspace later from its settings.
Whatever you skip now, none of it is lost. Medullar works right away, and you can finish the rest at your own pace.