Organizing & Sharing Spaces
As your collection of Spaces grows, a few simple habits keep everything easy to find and easy to share. This guide shows you how to tag, search, invite teammates, rename, archive, clone, and delete your Spaces.
If you haven’t made a Space yet, start with Creating Spaces.
Tagging and filtering Spaces
Tags are colored labels you can attach to a Space to group related work, for example a tag for a team, a project, or a client.
- Open a Space, or add tags while creating one.
- Add one or more tags and pick a color for each.
- Back on the Spaces grid, use the All tags filter to show only the Spaces that carry a given tag.
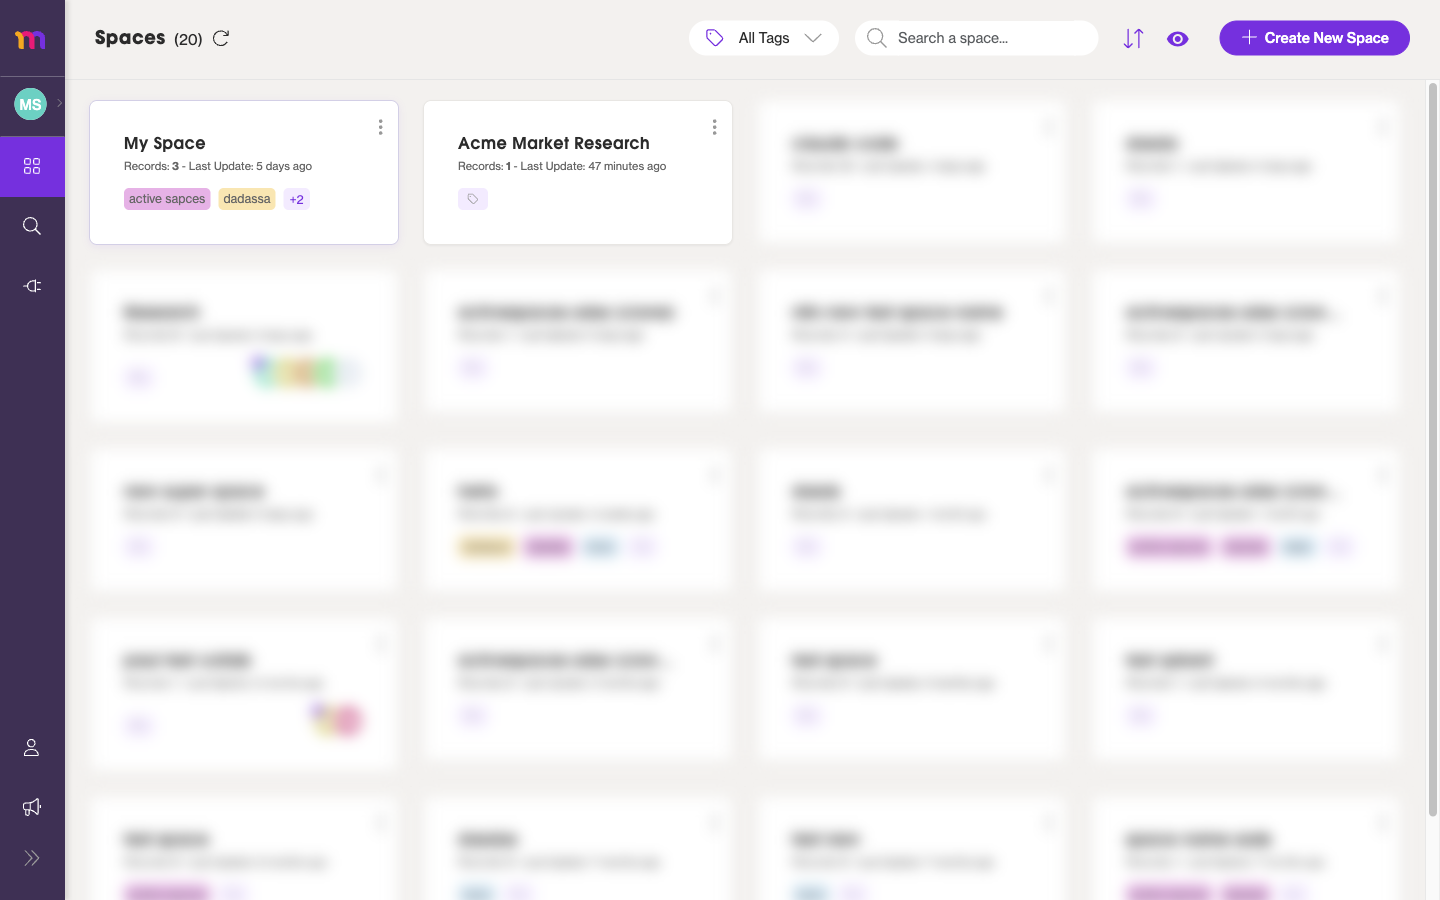 The Spaces grid, with the tag filter and search box at the top.
Filtering by tag is the fastest way to focus on one project when you have many Spaces.
Searching and sorting your Spaces
At the top of the Spaces grid you’ll find tools to locate any Space quickly:
- Search a space… — type part of a Space name to narrow the list as you type.
- All tags — limit the grid to Spaces with a specific tag (see above).
- View toggles — switch how the Spaces are laid out.
- Create New Space — start a new Space at any time.
Combine the search box with the tag filter to drill down to exactly the Space you need.
Inviting members and roles
Spaces are collaborative, so you can bring teammates into one to work together over the same connected knowledge.
- Open the Space you want to share.
- In the left toolbar, open Members to see the Space Users panel.
- The panel lists the Medullar AI agent (@medullar) alongside the people in the Space.
- Invite an available teammate to add them as a collaborator.
A few things to know about roles:
- The person who creates a Space is the Owner.
- Other people you invite join as collaborators with contributor or viewer-style access.
- You can only invite teammates who are already part of your workspace.
To add new people to your workspace so they show up as available teammates, see Members & Roles.
Renaming a Space
Every Space card on the grid has a menu with options to manage it.
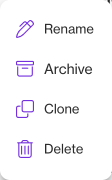 The Space card menu: Rename, Archive, Clone, and Delete.
To rename a Space:
- Open the menu on the Space’s card.
- Choose Rename.
- Enter the new name and save.
For example, you might rename a Space to Acme Market Research once its focus becomes clear.
Archiving and cloning
The same card menu lets you tidy up or reuse a Space:
- Archive — set aside a Space you’re no longer actively using, keeping your grid focused without deleting anything.
- Clone — make a copy of a Space, a handy starting point when you want a similar setup for a new project.
Deleting a Space
When you no longer need a Space, you can remove it from the same card menu.
- Open the menu on the Space’s card.
- Choose Delete.
- Confirm the deletion.
Deleting a Space is permanent. If you might want the Space later, Archive it instead.